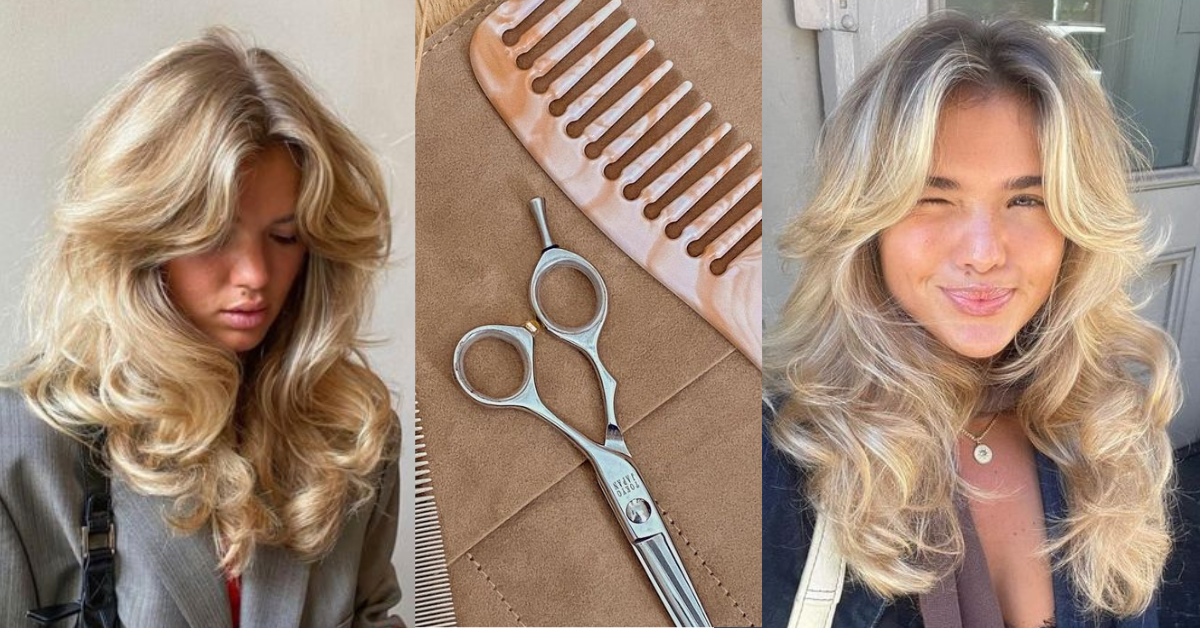
Learn step-by-step instructions and product recommendations to achieve the coveted Matilda Djerf haircut in the comfort of your own home.
If you’ve been swooning over Matilda Djerf’s effortlessly chic haircut, you’re not alone. Her perfectly undone waves and textured layers have become a hair goal for many. The best part? You can achieve this coveted look without stepping foot into a salon. In this blog, I’ll guide you through the process of getting the Matilda Djerf haircut at home, so you can rock those beachy waves and embrace that effortless coolness. Get ready to transform your hair with a little DIY magic!
Before You Begin:
Before diving into the haircut, gather the following tools and products to ensure a successful at-home hairstyling experience:
– Hair cutting scissors: Invest in a high-quality pair of hair cutting scissors, like the Equinox Professional Shears, to ensure clean and precise cuts.
– Fine-tooth comb: A fine-tooth comb is essential for sectioning and guiding your cuts.
– Hair clips: Use hair clips to secure sections of hair while you work on different parts of your head.
– Spray bottle: Fill a spray bottle with water to keep your hair damp while cutting.
– Heat protectant: Apply a heat protectant like the TRESemmé Thermal Creations Heat Tamer Spray before using any hot styling tools.
– Texturizing spray: Achieve those effortless waves by spraying a texturizing product like the Ouai Texturizing Hair Spray onto your hair.
Step-by-Step Instructions:
1. Start with clean, dry hair: Ensure your hair is clean, dry, and free from any styling products. This will allow you to see the natural texture and make precise cuts.
2. Section your hair: Divide your hair into sections using the fine-tooth comb and hair clips. Create a middle part and section off the hair at the back, then divide the remaining hair into smaller sections on each side.
3. Trim the back: Begin by trimming the back section. Take small subsections of hair and hold them between your fingers. Use the hair cutting scissors to make small, vertical cuts, removing the desired amount of length. Continue this process, working your way from the bottom to the top.
4. Layer the sides: Release the side sections of hair and bring them forward. Take small subsections and hold them between your fingers, pulling the hair outwards at a 45-degree angle. Use the scissors to make small, diagonal cuts, creating layers and adding texture. Repeat this step on both sides.
5. Add face-framing layers: For face-framing layers, take small subsections of hair from the front and hold them between your fingers, pulling the hair outwards. Make small, angled cuts, starting from the chin level and working your way down to blend with the rest of the hair.
6. Create textured ends: To achieve the signature textured ends, hold small sections of hair between your fingers and point-cut, using the scissors to create random, jagged edges. This will add movement and dimension to your hair.
7. Style your hair: After you’ve achieved the desired haircut, style your hair to get the beachy waves that Matilda Djerf is known for. Use a curling wand or a straightener to create loose, natural-looking waves. Finish by spraying a texturizing spray for that effortlessly tousled look.
Getting the Matilda Djerf haircut at home is not only possible but also a fun and rewarding DIY project. By following these step-by-step instructions and using the right tools and products, you can achieve those perfectly undone waves and textured layers that have become synonymous with Matilda’s signature look. Remember to take your time, be patient with yourself, and embrace the process. Now go ahead, grab those hair-cutting scissors, and get ready to rock the Matilda Djerf haircut from the comfort of your own home!
Check out our latest posts:


